How to capture Scrolling Screenshot in Windows
It is an open-source tool for users who do not want to pay for a subscription to Adobe Photoshop. Provides everything you need to create illustrations, edit high-definition images, and more. When you’re done editing within the Snipping Tool, clickFilein the upper-left corner and then click theSave As an option,which appears in the drop-down menu. Once you take a screenshot, theSnippingToolinterface expands to display the screenshot. You can do light edits, like using a pen, highlighter, and eraser.
Let’s say I am planning a trip and I want to have Apple Maps open on the left of the screen, and Safari open on the right. Tutorials, guides, tips, and tricks related to Windows and Mac. To schedule a custom class for any Microsoft applicationon your organization’s campus, please contact our Training Team.
How do I record my screen with out sound?
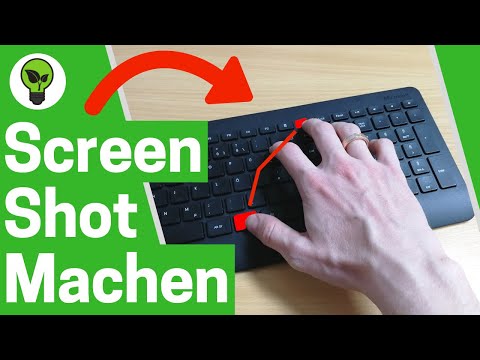
If you just want to take a screenshot of your entire screen, save it as a file and move on, the easiest way is by hitting Windows Key + PrtScr. Your entire desktop will darken for a second to show that the screenshot has been captured and a new PNG file will be saved to the Pictures/Screenshots folder. Each file will be given the name Screenshot (#).png where # is replaced by 1, 2, 3, etc. The quickest and easiest way to take a screenshot in Windows 11 is to simply press the Print Screen button on your keyboard.
- Windows 10 users can use Snap Assist to work on split screen mode.
- Easily annotate, highlight or obfuscate parts of the screenshot.
- Feature a video editor to edit captured videos as well as imported videos.
Go to the Start menu located on the bottom left corner of your screen and click it, or press the Windows key plus the S key to bring up the search bar. There are plenty of options for taking screenshots on your PC or laptop, including the use of extensions or the very simple ‘Print Screen’ key on your keyboard. But there’s a simple way to not only take a screenshot on your computer, but to also control what part of the screen you screenshot. Click the three-dot option in the end to select settings for the program.
How to screen record on iPhone or iPad
Click the tool at the top of your screen and then click and drag one of the corners to crop your image to its desired size. Activate Snip & Sketch on your PC through the desired method download drivers and then click on the 3rd icon from the left at the top of your screen in the snipping toolbar. Snip & Sketch is the new and improved screen capturing tool from Microsoft, meant to be the successor to the tried and tested, Snipping tool. Snip & Sketch allows you to do much more than just capture your screen. You can capture specific areas, freeform draw your capture area and even annotate your captures right within the app itself. Snip & Sketch has been highly integrated into Windows 11 and it can be activated from almost anywhere on the screen.
Support and update cycle
Utilizing the primary choice, the two windows would consume equivalent screen space because of the split in the screen. Windows can be snapped to the left or right by pressing Win + left/right keys. To handle this issue and further develop your usefulness levels, Microsoft presented the Split Screen highlight, which is accessible on Windows 8 or more. Select the one which you want to snap and drag it to the right or left edge of the screen.